7.2 - Making and exporting asset bundles in Unity
Installing the Unity game engine
First you need to download and install the Unity Hub application, which is basically the manager from which we can install and manage Unity versions, creating Unity projects etc.
After installing it you can go here, choose a Unity version
(I successfully made AssetBundles both in the 2023.2.14 and 2022.3.4 versions so I don't think it really matters if it's not too old)
and click on the Unity Hub
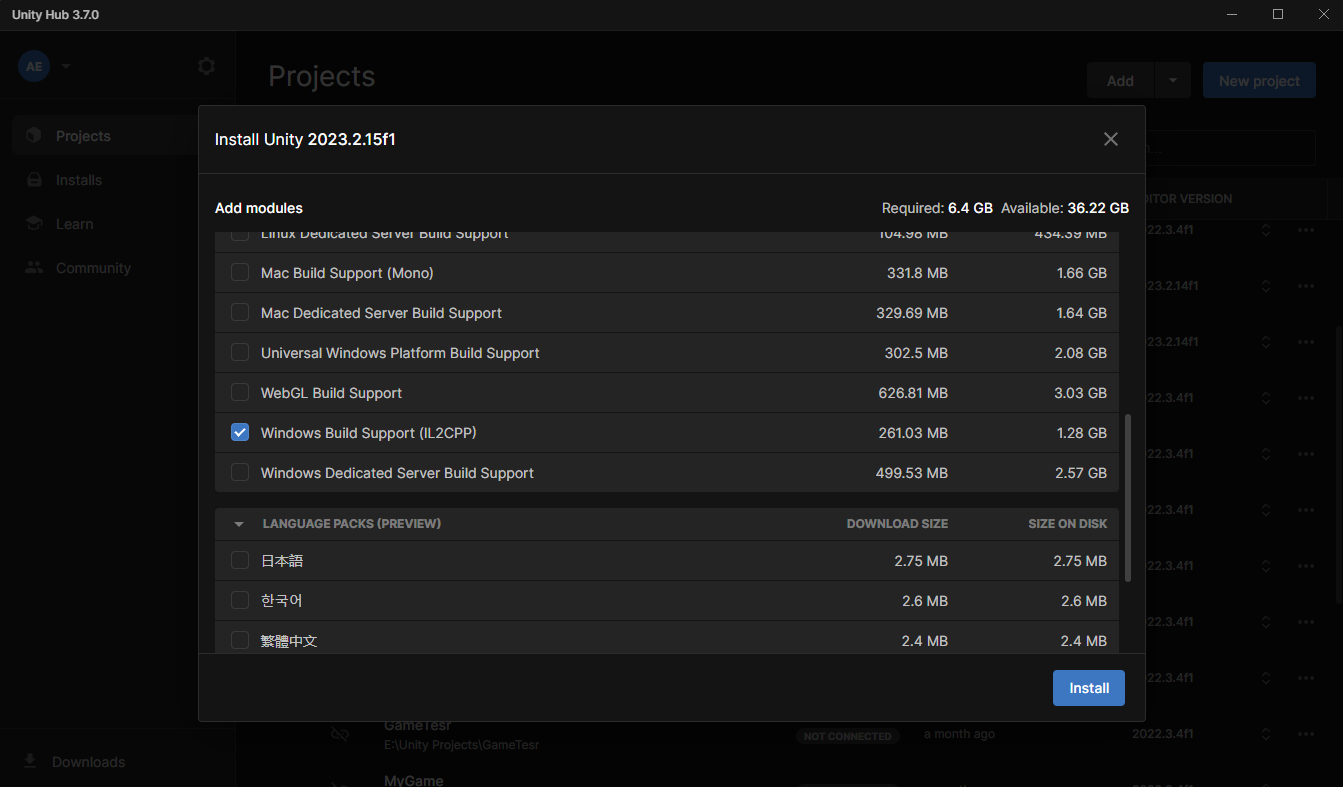
blue button which will open the Unity Hub application asking to install the Unity game engine.
Here we deselect all but we need to check Windows Build Support (IL2CPP)
.
After that we can press install and wait for the engine installation.
Creating the Unity project where we will make asset bundles
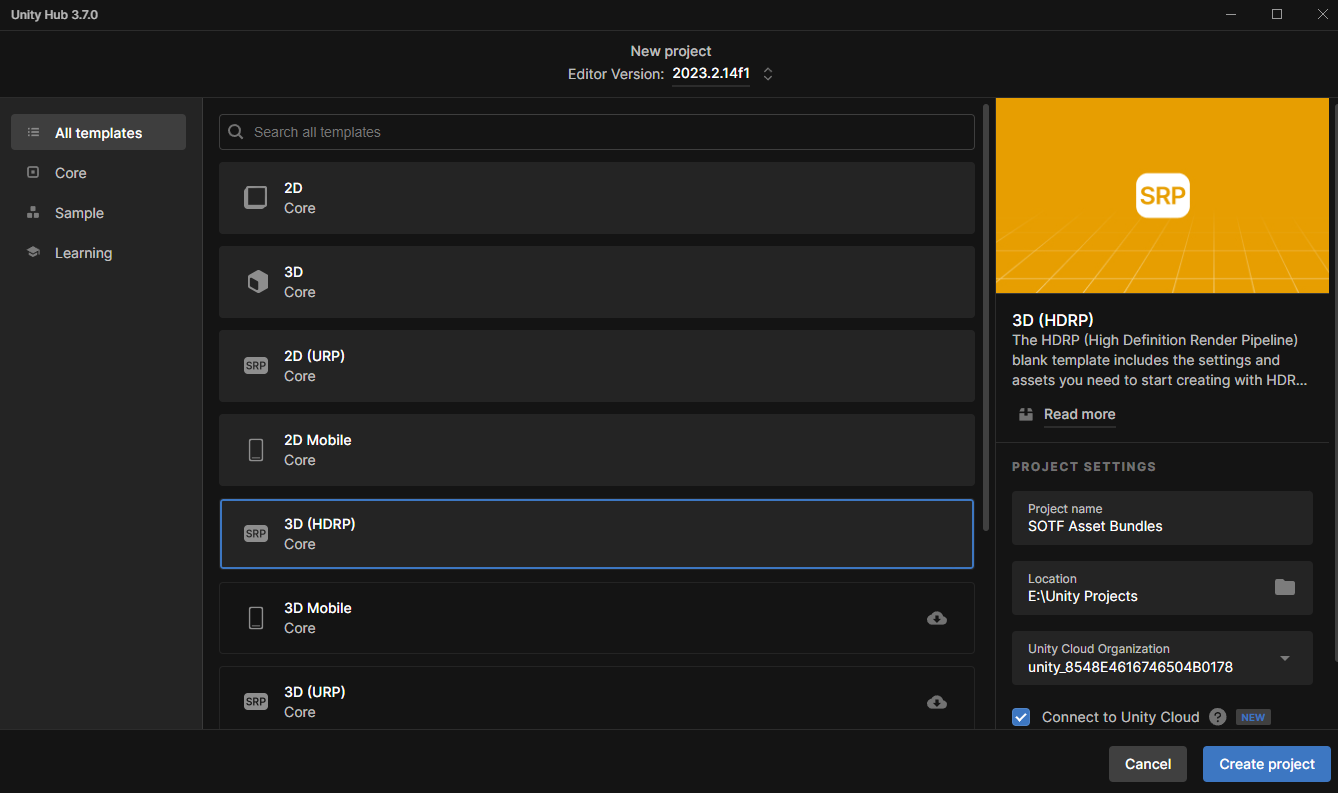
To create a new unity project go to the Projects
tab on the left and press the New project
blue button at the top left.

Here we choose the 3D (HDRP)
project template as shown below, give it a name and click on the Create project
blue button
at the bottom right.
Making asset bundles
After the project has been created we will be presented with the Unity game engine view. From now on you can follow this video which will teach you how to make asset bundles in Unity.
If you followed the video step by step you will have the AssetBundles folder with the assetbundle cube. The asset bundle file is the one without any extension.
Making a proper asset bundle
The video example was a showcase on how to make the AssetBundle file of a simple cube with no textures, but when we want to use some asset from the Unity Asset Store we have take count of other steps and fixes before having the proper asset bundle file.
From now on we will create the asset bundle of a free tank asset
which we can get from the Unity Asset Store.
You will have to login into it and then click the Add to my Assets
blue button.
After that in Unity at the top we can go to Window->Package Manager
, go into the My Assets
tab on the left,
search for the tank asset and download it with the top right button.
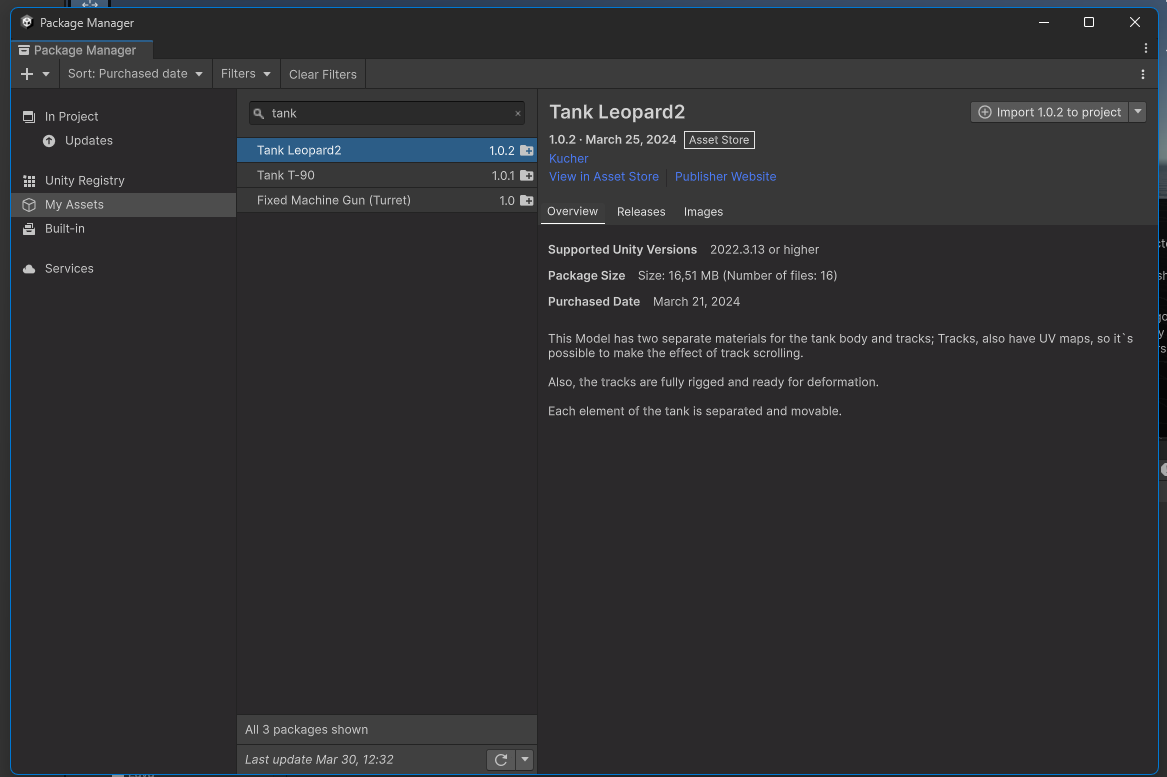
After downloading click on the import button and import again
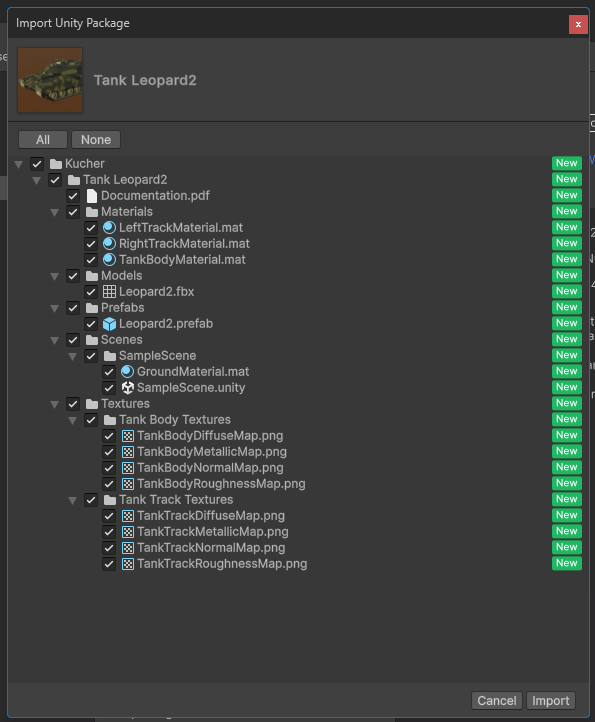
Now navigate to the tank prefab (which is just the tank itself) as shown in the image below and drag the prefab into the scene view
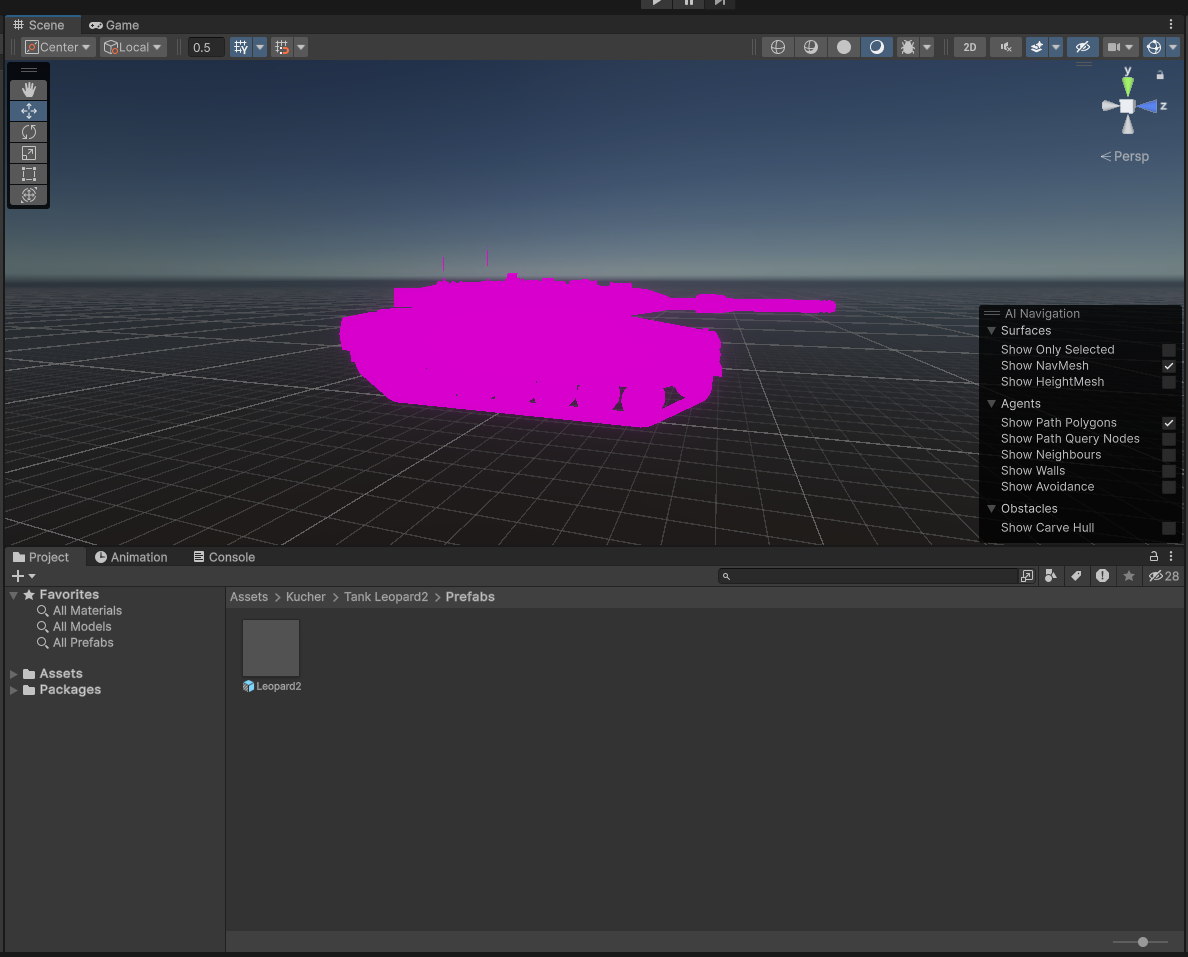
Fixing pink materials
As you can see our tank is all pink and doesn't have the proper textures.
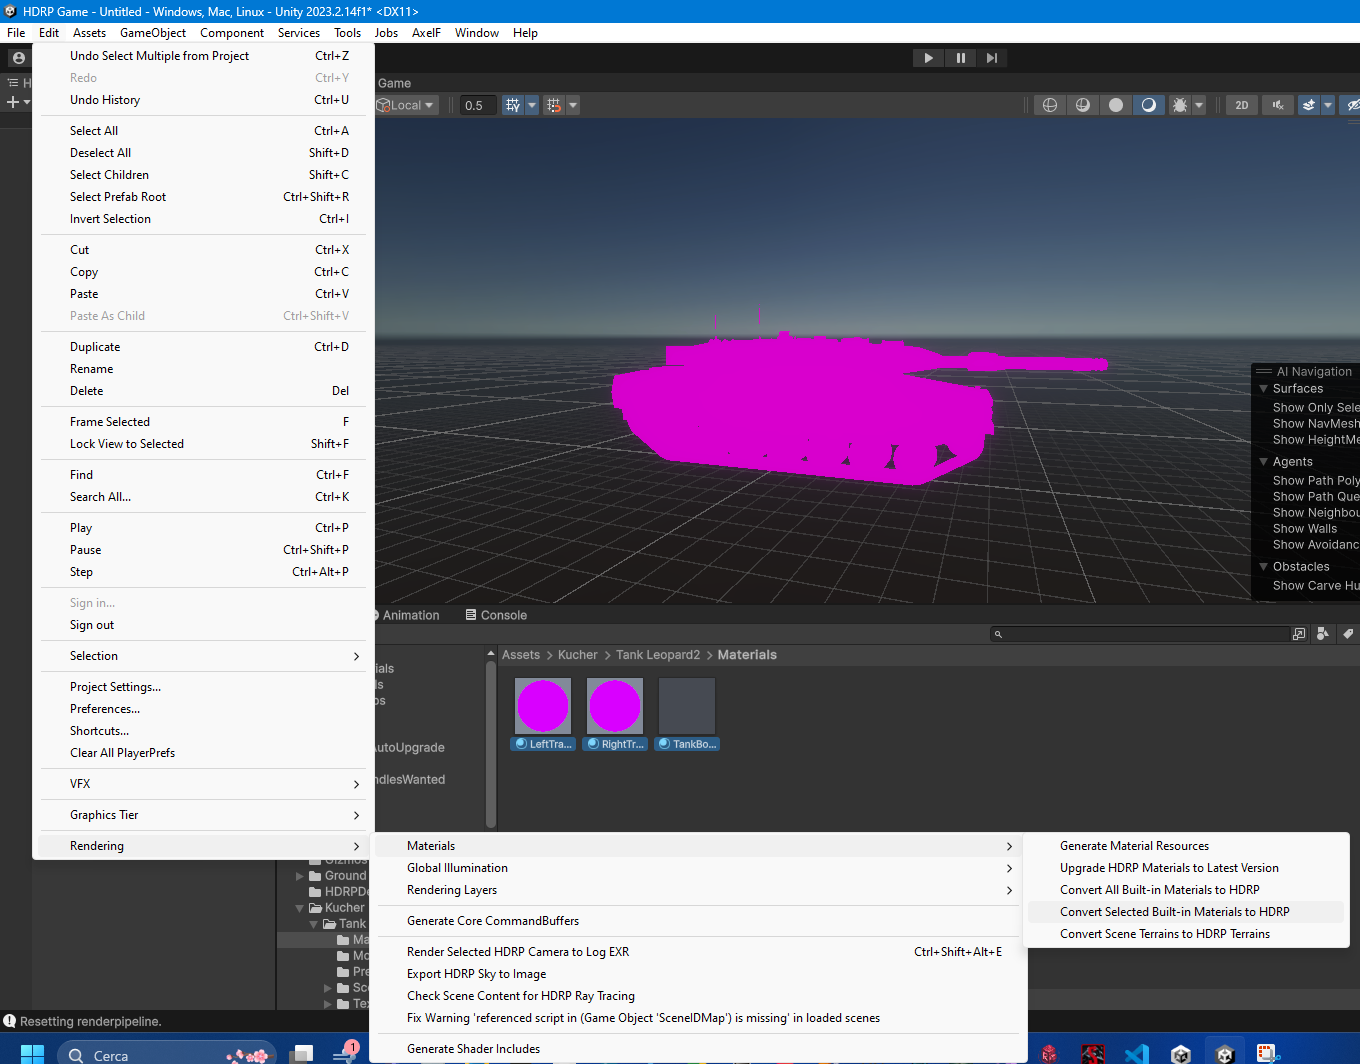
To fix this we need to locate the materials used by the tank (commonly found inside a materials folder of the imported asset),
select all of them and at the top of Unity go into Edit->Rendering->Materials->Convert Selected Built-in Materials to HDRP
and click proceed.
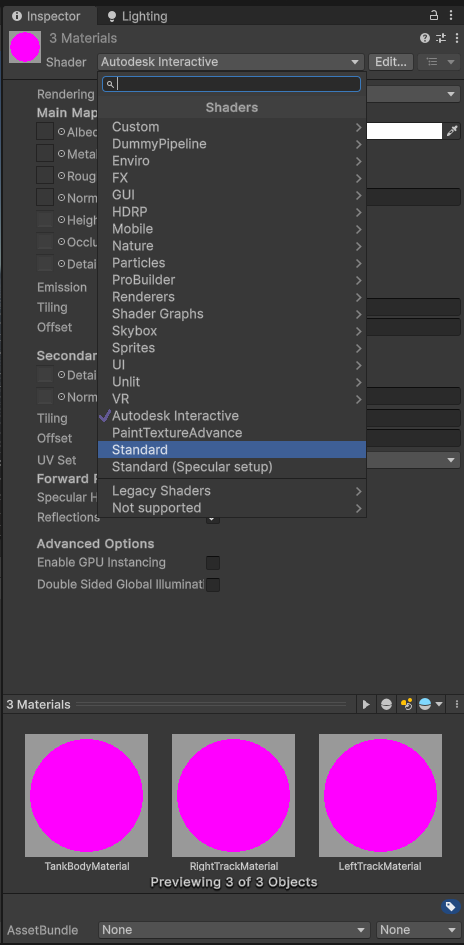
If it works good, else like in this case, we need to change the materials Shader
to Standard on the right panel and repeat the above process
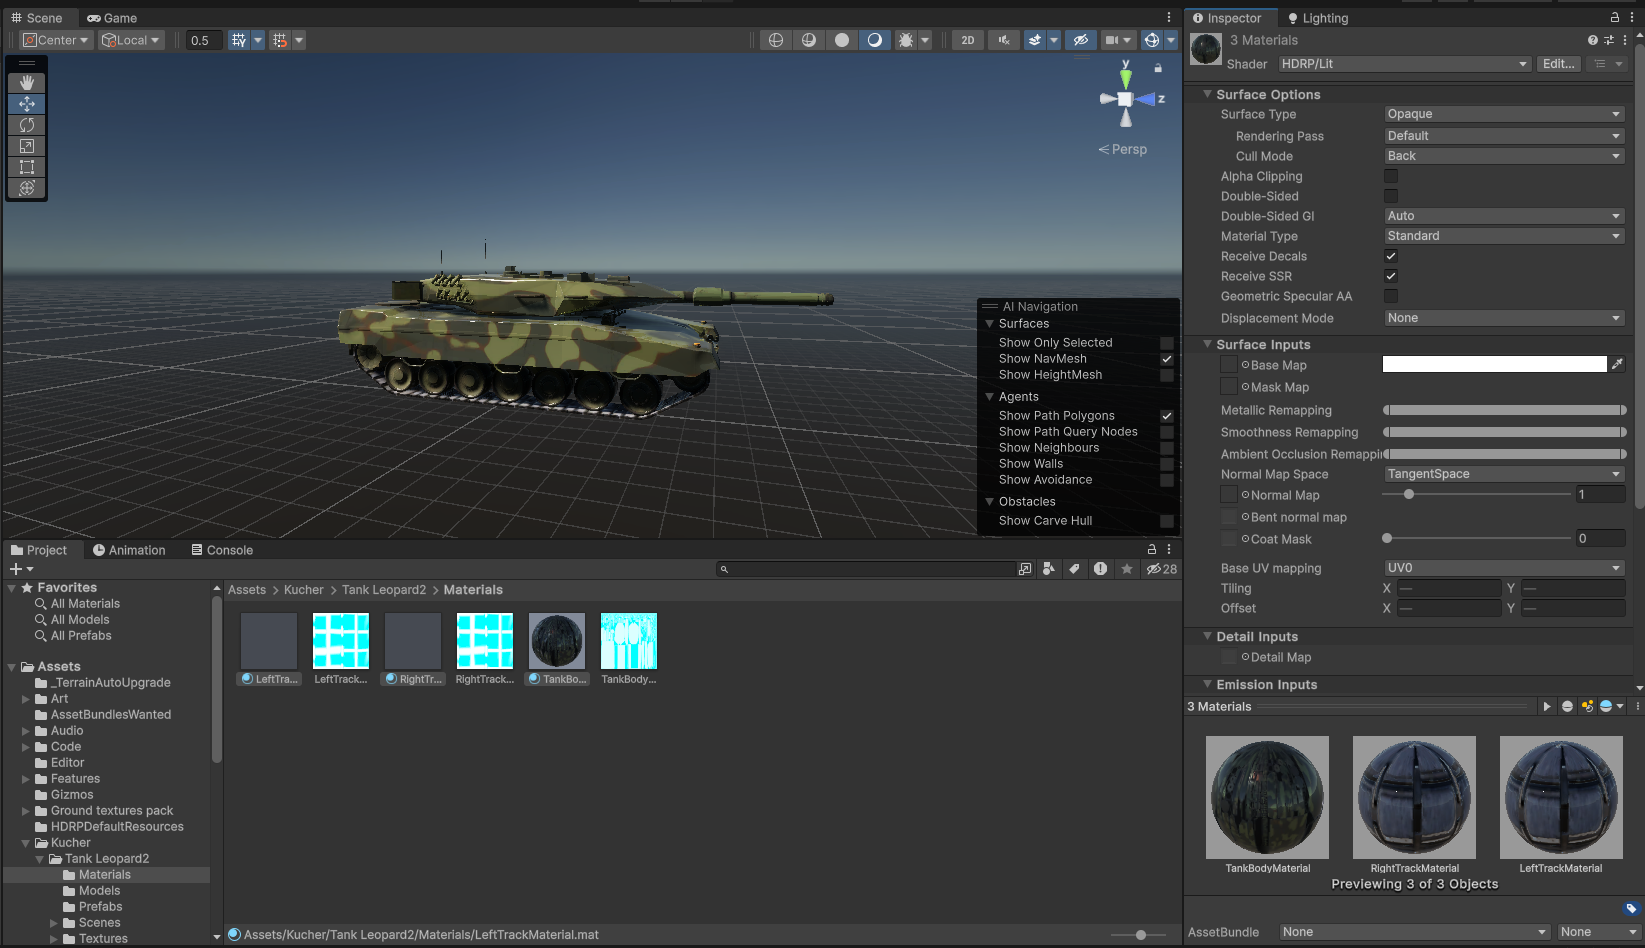
If we did all good you will now see the tank has the right texture and is looking good
Prevent falling through the ground and adding physics to the tank
Since the asset didn't come with a collider and rigidbody pre-applied we need to add those two to prevent it from falling through the ground and make it interact with the world.
We can do so by adding two components in the right side panel:
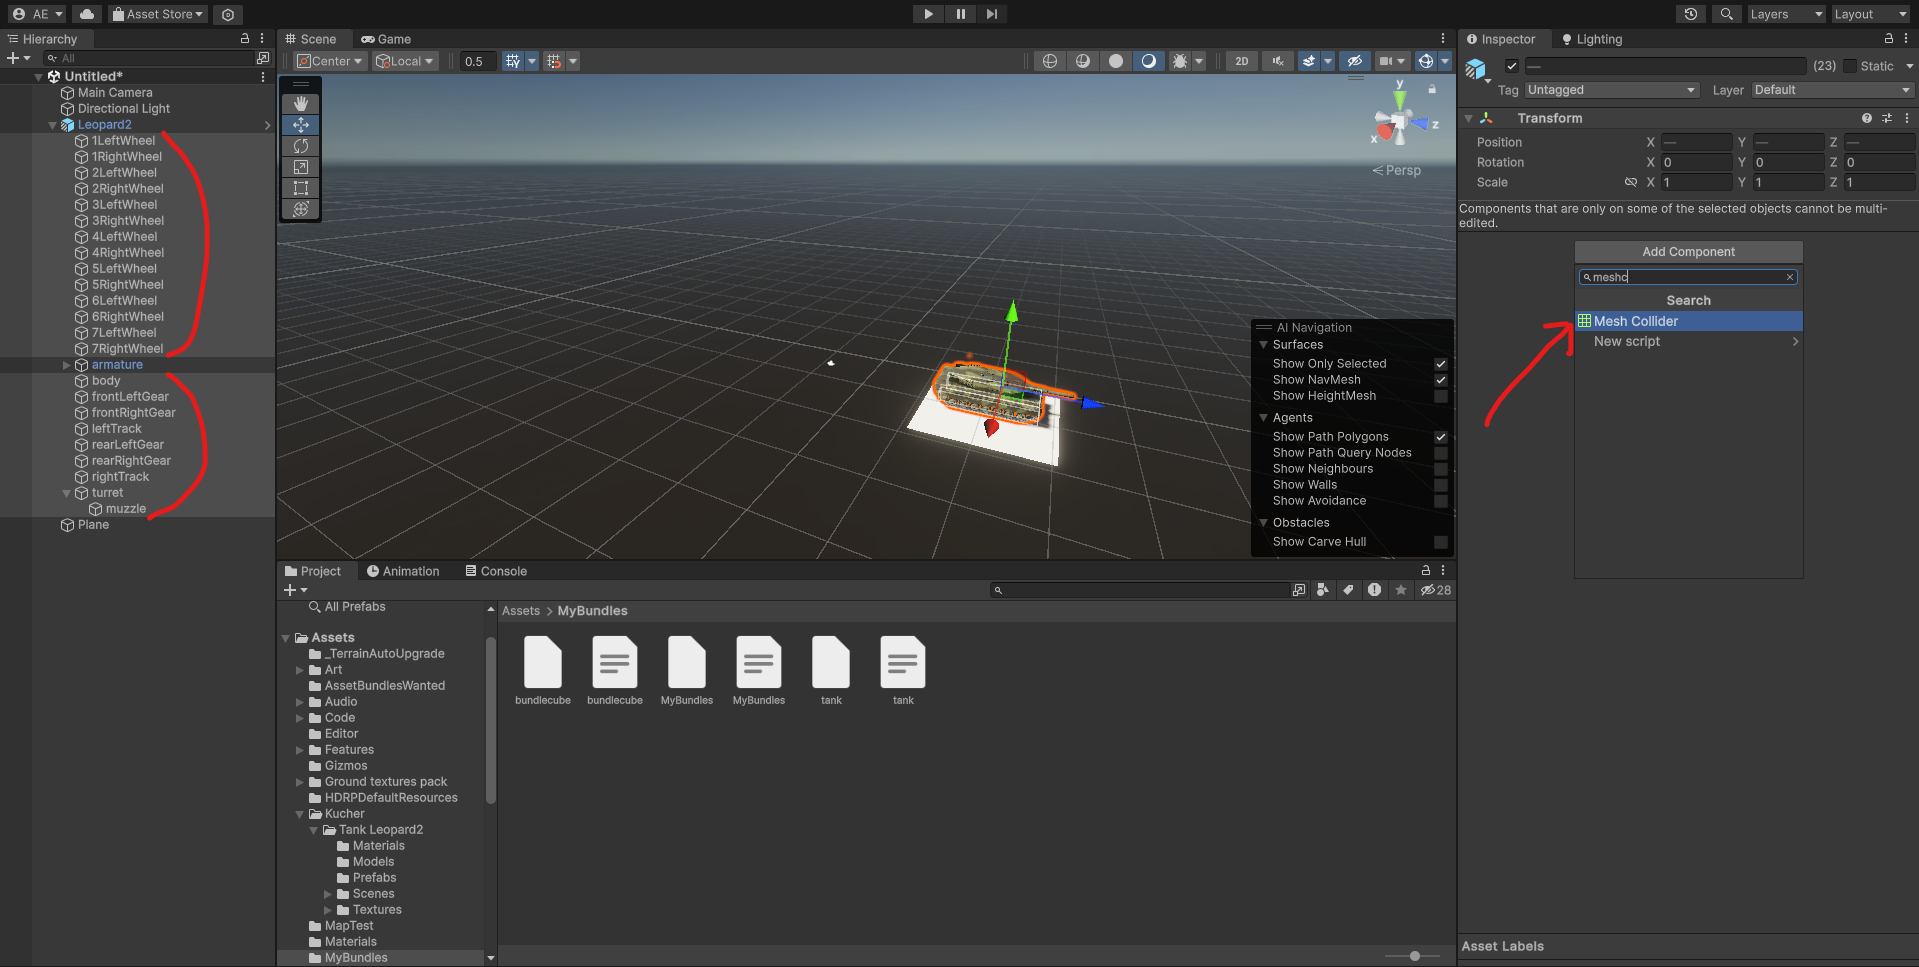
- Multiple MeshColliders for each tank part which has a MeshRenderer component, enabling the
Convex
checkbox - A rigidbody component on the main tank GameObject
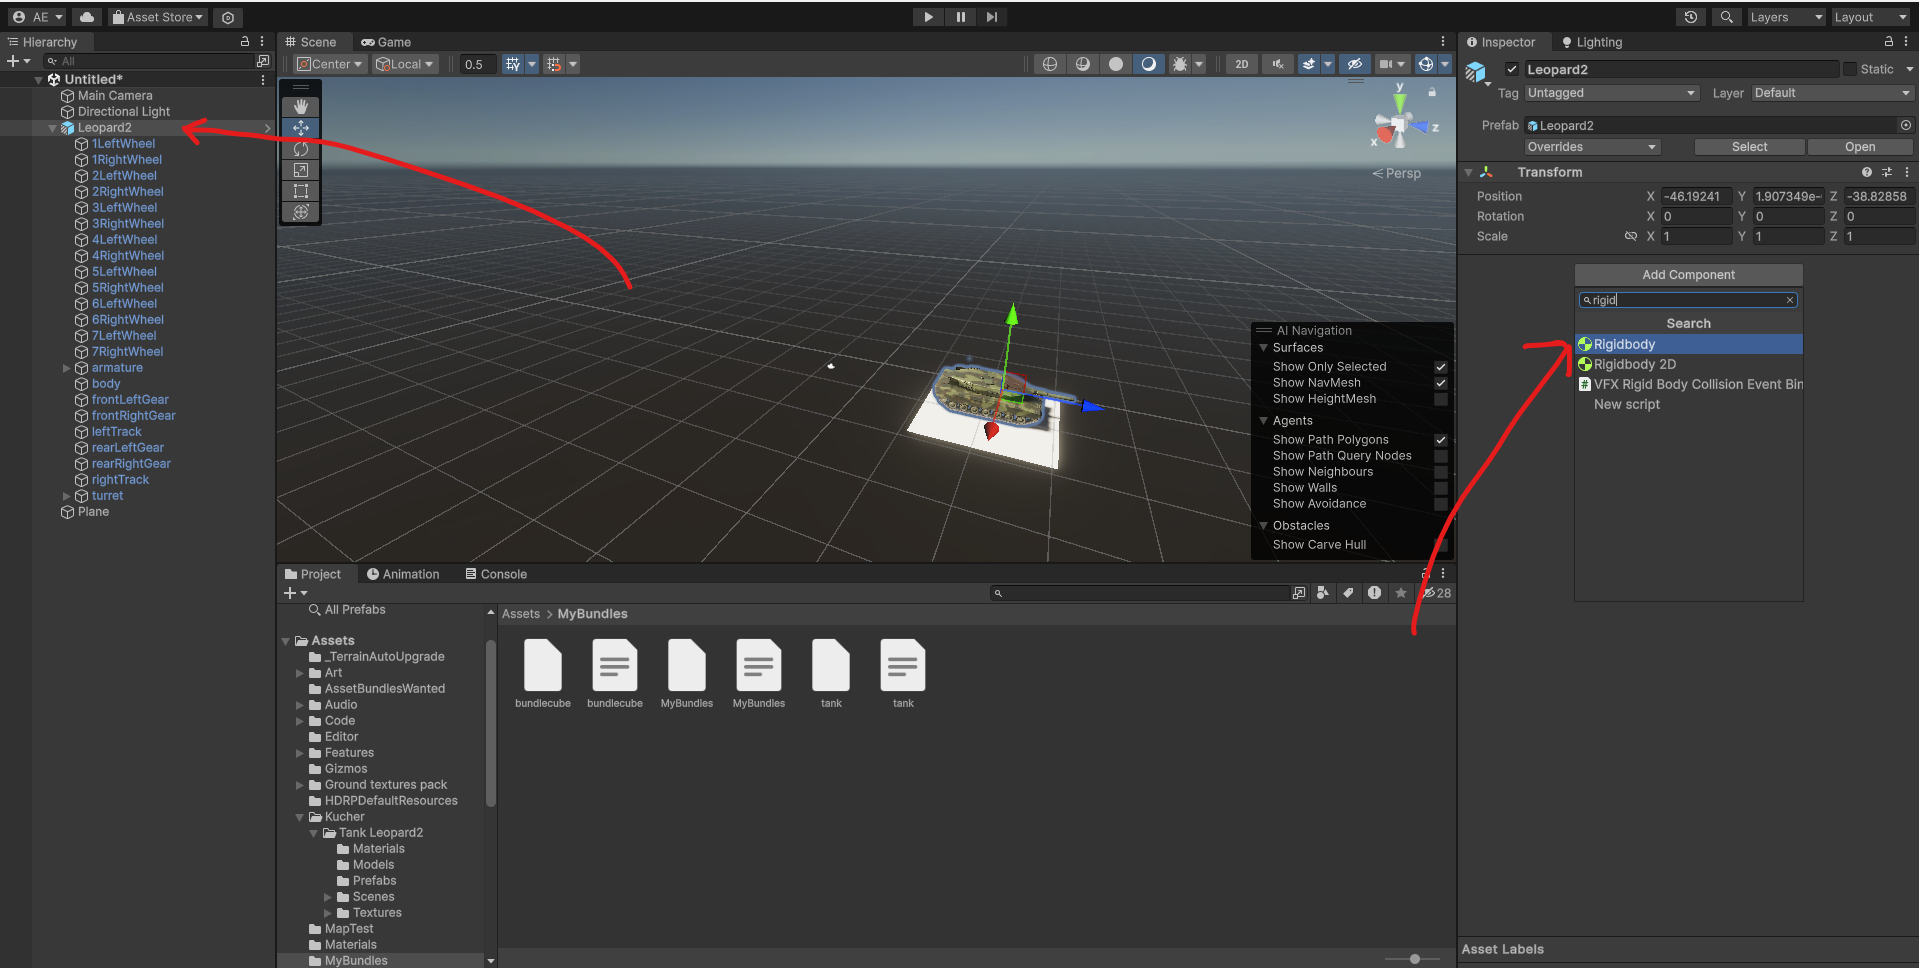
Adding rigidbody:
Adding mesh colliders to all tank parts which have a MeshRenderer component:
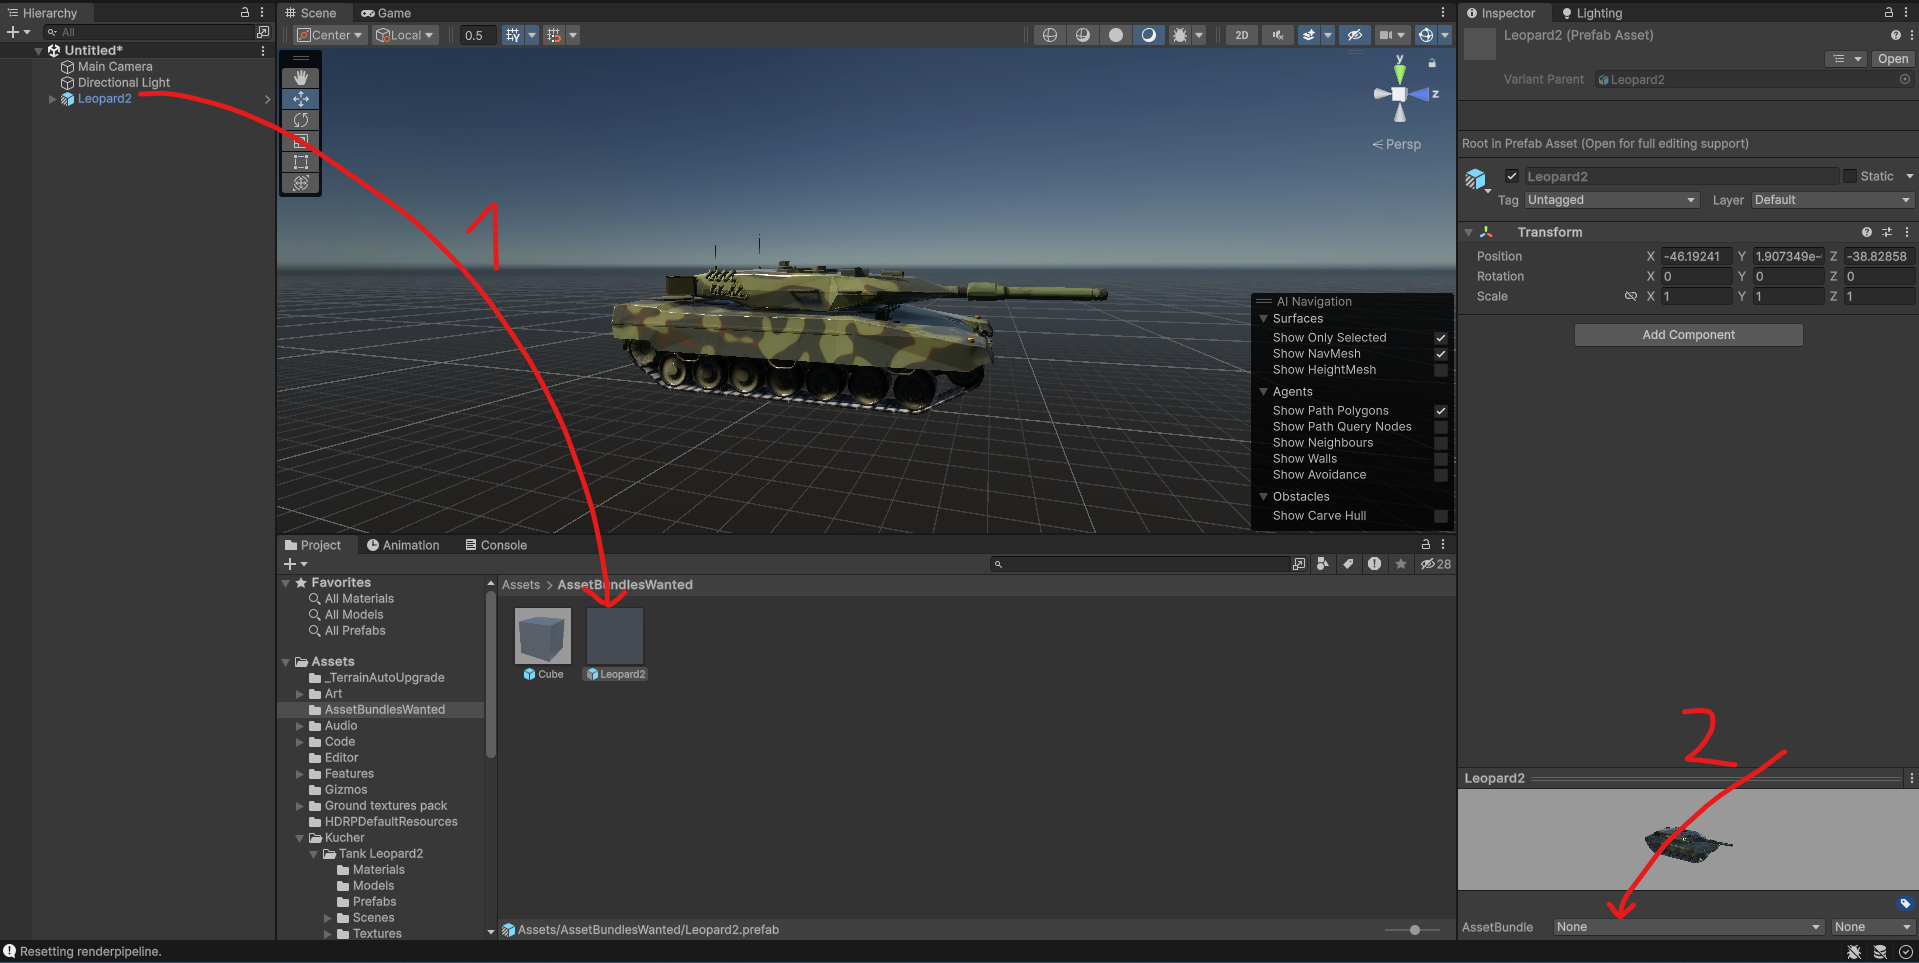
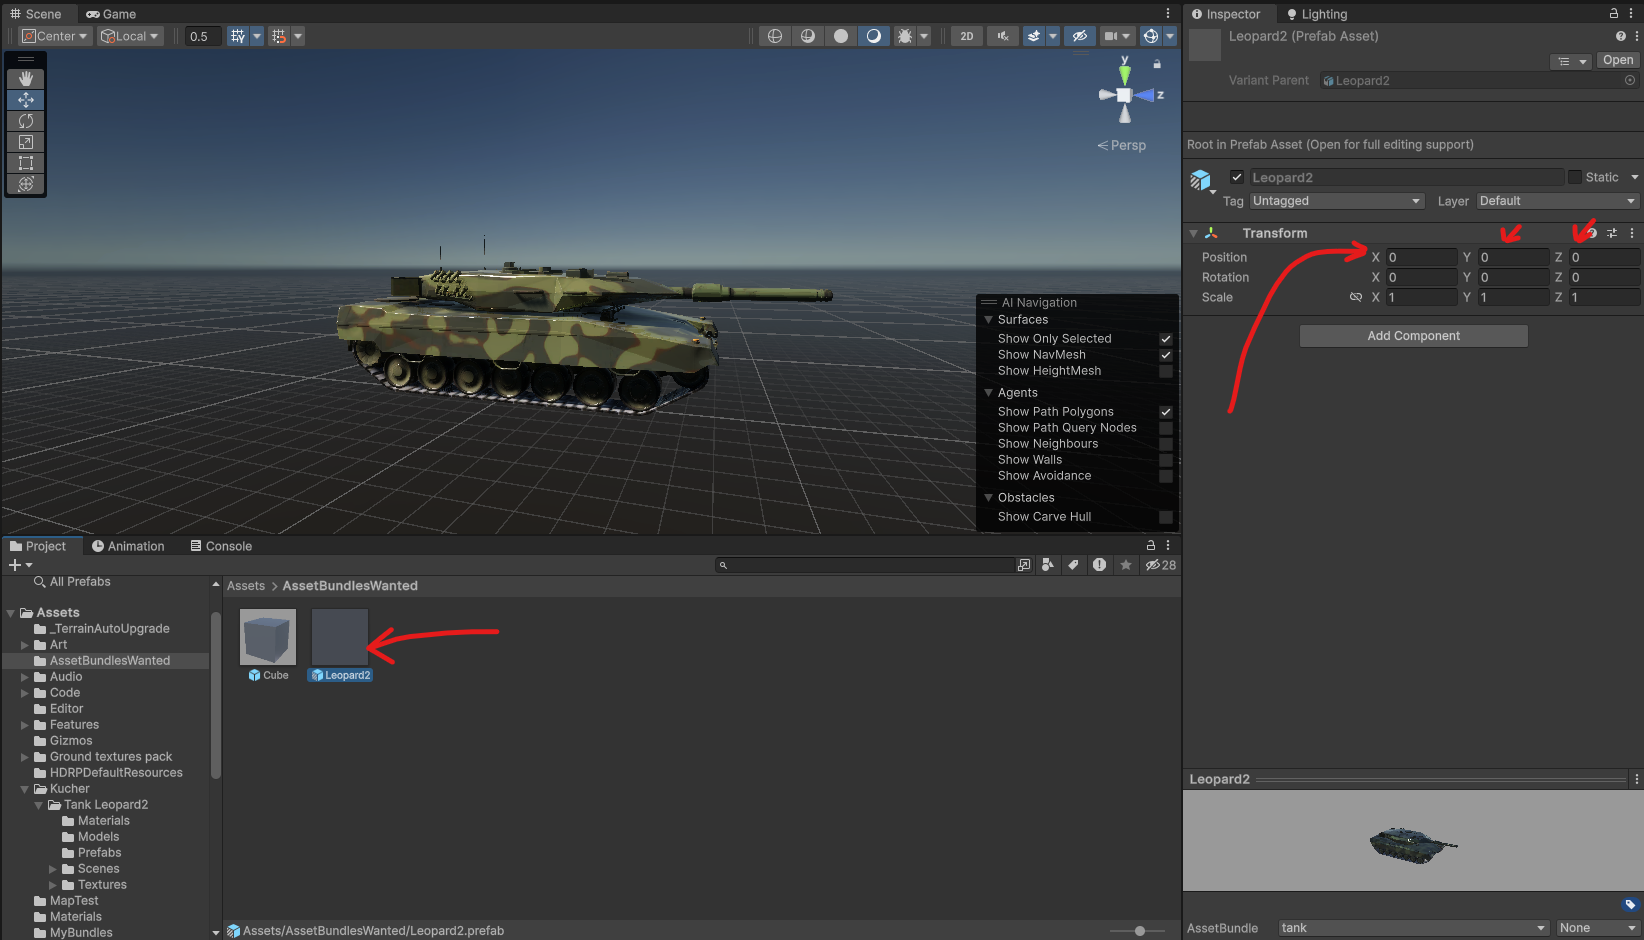
We can now drag the tank prefab into the AssetBundlesWanted
folder we made following the video, reset it's position to 0,0,0 and make the asset bundle the same way
as in the video, giving it a name and going into Assets->Create Assets Bundles
.
If we go in the output folder where created assetbundles goes to, we can find our tank asset bundle file
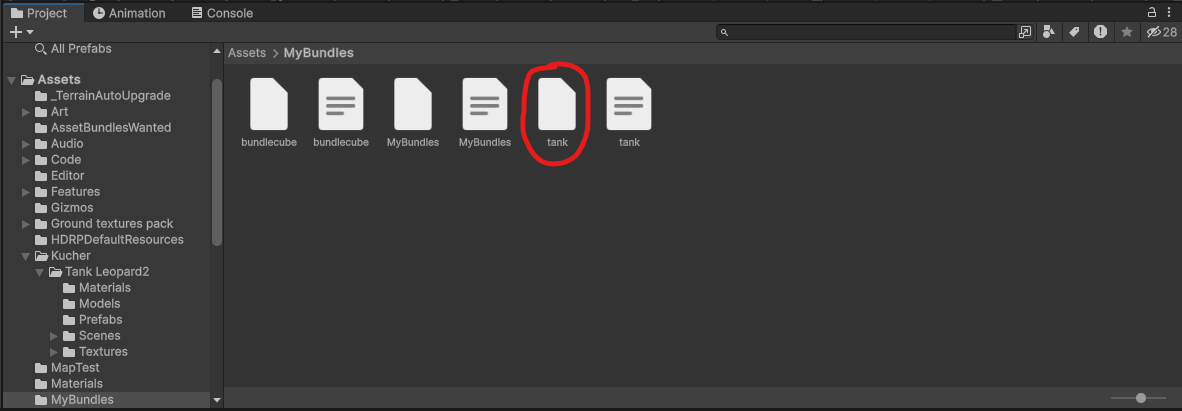
Congratulations, you made and exported your first asset bundle.
Now it's time to include it into a mod and later spawn it in game.